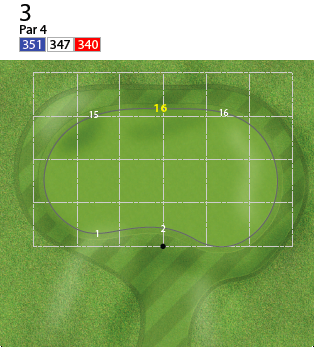
| Course | Par | Metres | Yards | Index |  | 4 | 351 | 383 | 4 |
|---|---|---|---|---|
 | 4 | 347 | 379 | 4 |
 | 4 | 340 | 387 | 3 |

| Course | Par | Metres | Yards | Index | | 4 | 351 | 383 | 4 |
|---|---|---|---|---|
| 4 | 347 | 379 | 4 |
| 4 | 340 | 387 | 3 |
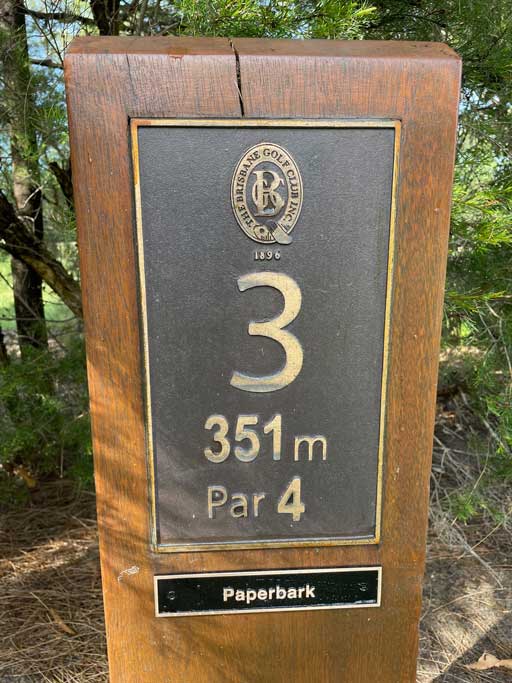
Paperbark
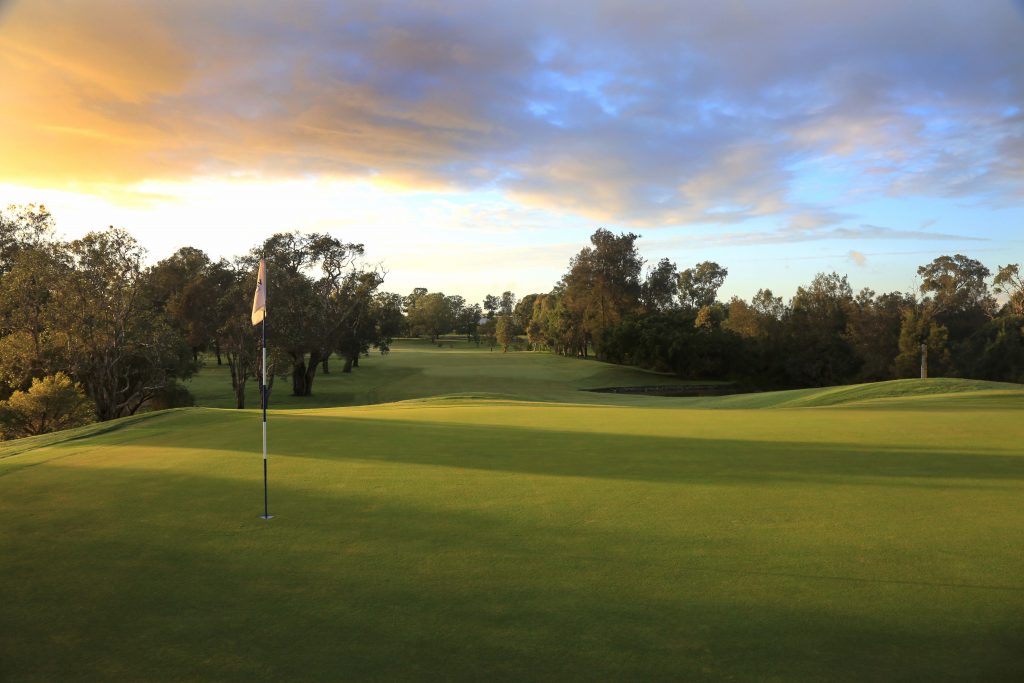
Whilst the narrow landing zone on the ‘classic’ par 4, third, of 351 metres allows you to opt for a more accurate Club, don’t make the mistake of leaving your tee shot too short as an elevated green, protected by deep swales, awaits. The green is wider than it is long, with thick surrounds, so distance control with your approach is again critical on this hole.
Naming the Hole
Paperbark – Named after the predominant larger trees found throughout the lower lying floodplain areas of our course, and that abundantly line each side of the fairway of this demanding hole. For some golfers their is a risk of playing their second shot from amongst these beautiful trees. With their creamy white and shapely flaking textured trunks, they’re attractive habitat to many birds, bees and insect species.
Playing Tip
No hazards in play yet demands the ultimate respect. Play your tee shot around 200 metres and be left. This leaves a mid to short iron to the elevated, shallow green. Par is better than the field average..
History
Once Hole 13, the green was originally sited short of Moolabin Creek but has been in its current position since the late 1920s. A storm in November 2014 removed a number of the holes established trees.